Table of Content
A 3D printer was used for some of the air hockey components. So, if you have a 3D printer, this might be a problem, and it will cost you extra cash. The total cost for the model was around $50 which is quite cheap. Avoid using paint because it will block the holes and roughen the surface. Try to drill straight down, both to prevent snapping the bit, but also to make sure the air flow is optimum.
So this guide deals with advanced woodworking skill levels, if you're a beginner this won't work for you. Although, you can check the video to see if you can still make it work regardless. You can make this perfect air hockey table with little or no cash spent. The electrical parts have to do with a jump wire, LCD, LED strip, Arduino Uno, 12V adapter, and a push-button. Instead of spending a ton of cash on a brand new air hockey table, you could make one at home for just $40. Most parts of the air hockey table were made with plywood, while some parts were 3D printed.
Mini Air Hockey DIY
So, you love the world’s fastest table sport but don’t have a small fortune to spend on purchasing an Air Hockey Table? Depending on the size of your table, the rails should be 24 to 28 inches (60.9 to 71 cm) long. My 2 x 14 plate has a 2 x 6 plate and a 2 x 4 plate underneath it.
So, get your free time ready in your calendar because this project won't take too much of your time or energy. This air hockey table is quite small but so much fun to play. You get to control the strikers from under the table not from on top.
Introduction: What is an air hockey table?
Once all of your pieces are securely attached and the holes are drilled, it’s time to sand down any rough edges or imperfections on your table. After sanding, apply a coat of paint or spray-on sealant to protect the table from wear and tear. Allow the paint or sealant to completely dry before moving on to the next step. Cut out one large piece of plywood and two smaller pieces in a rectangular shape that is slightly larger than your desired playing area. Attach these three pieces together using screws and nails so they form one large piece of plywood with no gaps between them.
Mark out the position of these holes on the other side of your table, too, so they are in perfect line with those on this side." A mand drill will be quite stressful, so try using a Dremel will press, it's much faster and lighter. When you are done, clean the board properly and make your frame and attach it to the board. Complete the remaining steps and you're good to go and your air hockey table will be ready and fun to play. Air hockey tables come in many different sizes and styles, so it’s easy to find one that fits your needs.
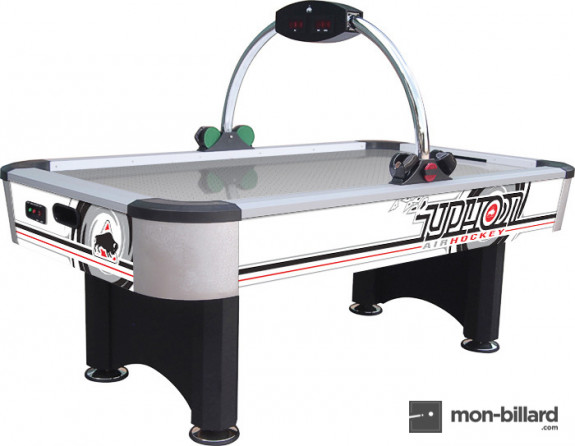
Best Full-Size: ESPN Sports Air Hockey Game Table
180-DAY WARRANTY - Your table comes with a 180-day manufacturer warranty. We promise that it will arrive damage-free with all necessary parts and accessories. Otherwise, we’ll send replacement parts or an entirely new table at no cost to you.

So, while you move the strikers around from under the table, a lot of actions go on at the table surface. You just need a few wooden boards, some magnets, washers, and spray paint. This air hockey table was made out of MDF boards and other lumber wooden planks. First, you need to start with your design, calculating and working with a prototype.
How To Make Air Hockey Table Slide Better
A dependable air hockey table should be supported by a sturdy base and legs, and it should be able to last for many years. When purchasing an air hockey table, keep in mind that the surface must be level in order for consistent play. Air hockey is sure to keep your friends or family entertained for hours on end! Whether you’re playing against someone else or challenging yourself with solo play, it’s always exciting and engaging.
The table’s sides need to be firmer in order to enhance playability. Perhaps a rubber bumper, like the ones on pool tables, would lessen the bounce. But, due to the complex technology needed to run it, a professional air hockey setup is typically only found in arcades. You must first decide on the size of the air hockey table that you want to build.
Finally, if the table still doesn’t seem as slick as it used to, you can try using a silicone spray lubricant on the playing surface. In this article, we will show you how to polish your air hockey table using materials that you likely already have at home. One of the most basic rules of air hockey is to stay on your side of the table.

The materials and tools needed for this project are readily available at most hardware stores. A fun addition to your house, your friends and family will love playing on this cool table! What are the materials needed to build an air hockey table? The answer is relatively simple – a few pieces of wood, a few screws, and some paint.